"Your spirit is the true shield!"
This post is about reinforcing the new army imagery that
I introduced last post. To do this I have started painting up a defence line for the new campaign
front in the Orpheus Sector, as well as the literal 'front' of painting lions on
the front of things. [Don’t worry I’ll stop my bad attempts at being clever now.] My current progress is slightly ahead of my blogging
so unfortunately I did not incorporate some of the advice that I received in my
last post. Never the less, I got there in the end!
Shortly after my first red lions I snapped up my set of Aegis Defences started a few more.
Here are the four long sections with the lions roughly sketched out in white (some rougher then others).
One filled in with red.
I was eager to see how they looked with first gun emplacement.
After seeing the Earthshaker on its base I decided that I'd give the defence lines bases too. I am hoping it should help congeal the terrain and the army as they grow. Seen below are 1mm plastic sheets cut and painted brown.
After a bit of measuring and thinking I cut the back end of the single sections into wedges. This means that I could line them all up straight or use the singles at an angle up to 90 degrees.
After they were glued on to the bases I stated to add some decking or 'duck boards' to the back of the defence lines. This was cut from a sheet of balsa wood.
The beams went down first, then the decking was glued on top.
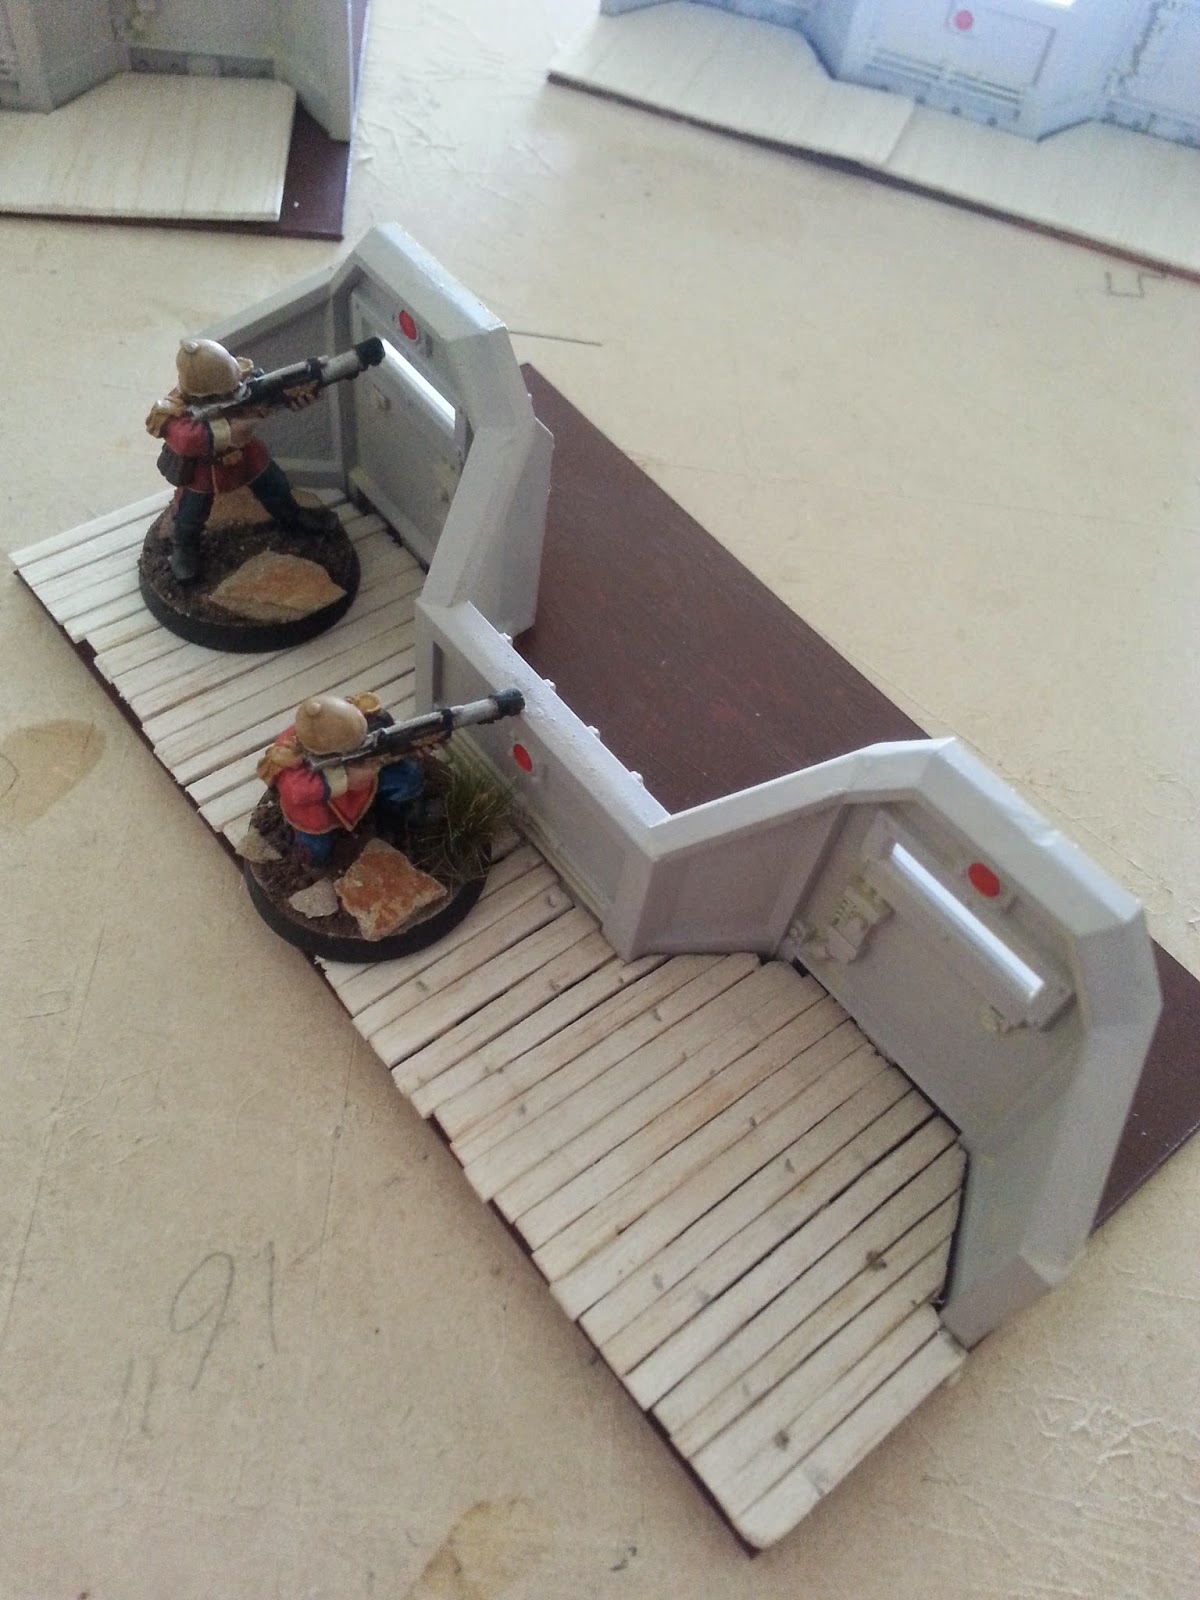
One of the other reasons I wanted to add some sort of hight to the back of the defences was because the small 2nd Ed Praetorians are shorter than the wall!! On their new decking they can now fire out of the gun ports whist standing and over the low sections when kneeling.
Next I filled in dirt between the beams. I had to do this because you can see under the decking and I also wanted to have a few broken planks too.
I must have been really eager when I glued all of the planks on because didn't take any photos. From there I went straight into painting the boards. I took a shot of the paints to remind myself which colours I had used for next time. I layered these colours (from right to left) keeping the boards closer to the wall darker and the outside edge lighter. I figured the outside edge would be weathered more.
With that done I grabbed my rocks!
I simply broke off bits and crush some up with a pair of pliers.
Then glue it all on.
Whist doing the defence line bases I also bases my second gun emplacement.
Even though they are not finished the other lads on face book were eager to see how they looked with the men standing guard. You can see how the weathering and washes has darkened (and yellowed) the finished Earthshaker compared with the base coated one.
I have now given these a heavy weathering which I'll finish up and share in the next post.
Until next time,
Tally ho and hold the line!
Tally ho and hold the line!


Pretty classy, I have had problems with the ADL looking like it was lacking context, like it was dropped from space like DoW or something.
ReplyDeleteAlso, nice freehand, have you yet dared to try it on a guard pauldron? They drive me nuts, I scrubbed over quite a few. So tiny!
Very nice. Add's that little bit extra to the scenery that just makes it stand out!
ReplyDelete"When that was done I grabbed my rocks."
ReplyDeleteFor some reason I appear to snorted coffee all over my keyboard.
Very nice work Col A. I'm not sure 'congeal' is the adverb for making your ADL fit in, perhaps 'coagulate' ? You'll certainly avoid Mr Bloodsing's problem.
I'm current writing posts for mid-March, so about six weeks ahead, so yes, I know what you mean.
The rock idea and the floor boards are great. They really add to the terrain, and bring a ton more character out. Do you have the same rock bases on all the rest of your models?
ReplyDeleteBeautifully done, man! Those look fantastic!
ReplyDeleteLove then floorboards! Loving the look of the defence line. The lions are looking better too, great work!
ReplyDeleteThe floorboards...wow...this was insanely fun to browse the photos of, and just go "wow...holy crap! It looks amazing now!"
ReplyDeleteFrom the floorboards to the very real looking rocks on the basing, you've really stepped up the quality mate. With the addition of the rock, are these pieces super heavy now though?
ReplyDeleteThe whole lot together look fantastic, love the duckboards and those rampant lions on the aegis lines!
ReplyDeleteThe whole thing looks awesome. It inspires me.
ReplyDelete