

Before I discuss how my magnetising went, here are a few of my excited unboxing photos.
My add-on box arrived first.


I opted for plastics over the resin models but was pleasantly
surprised by the level of detail. These models are beautiful.


The Scale is 40mm to the eye so a little bigger than 40k. I
must say I am in love with this scale.

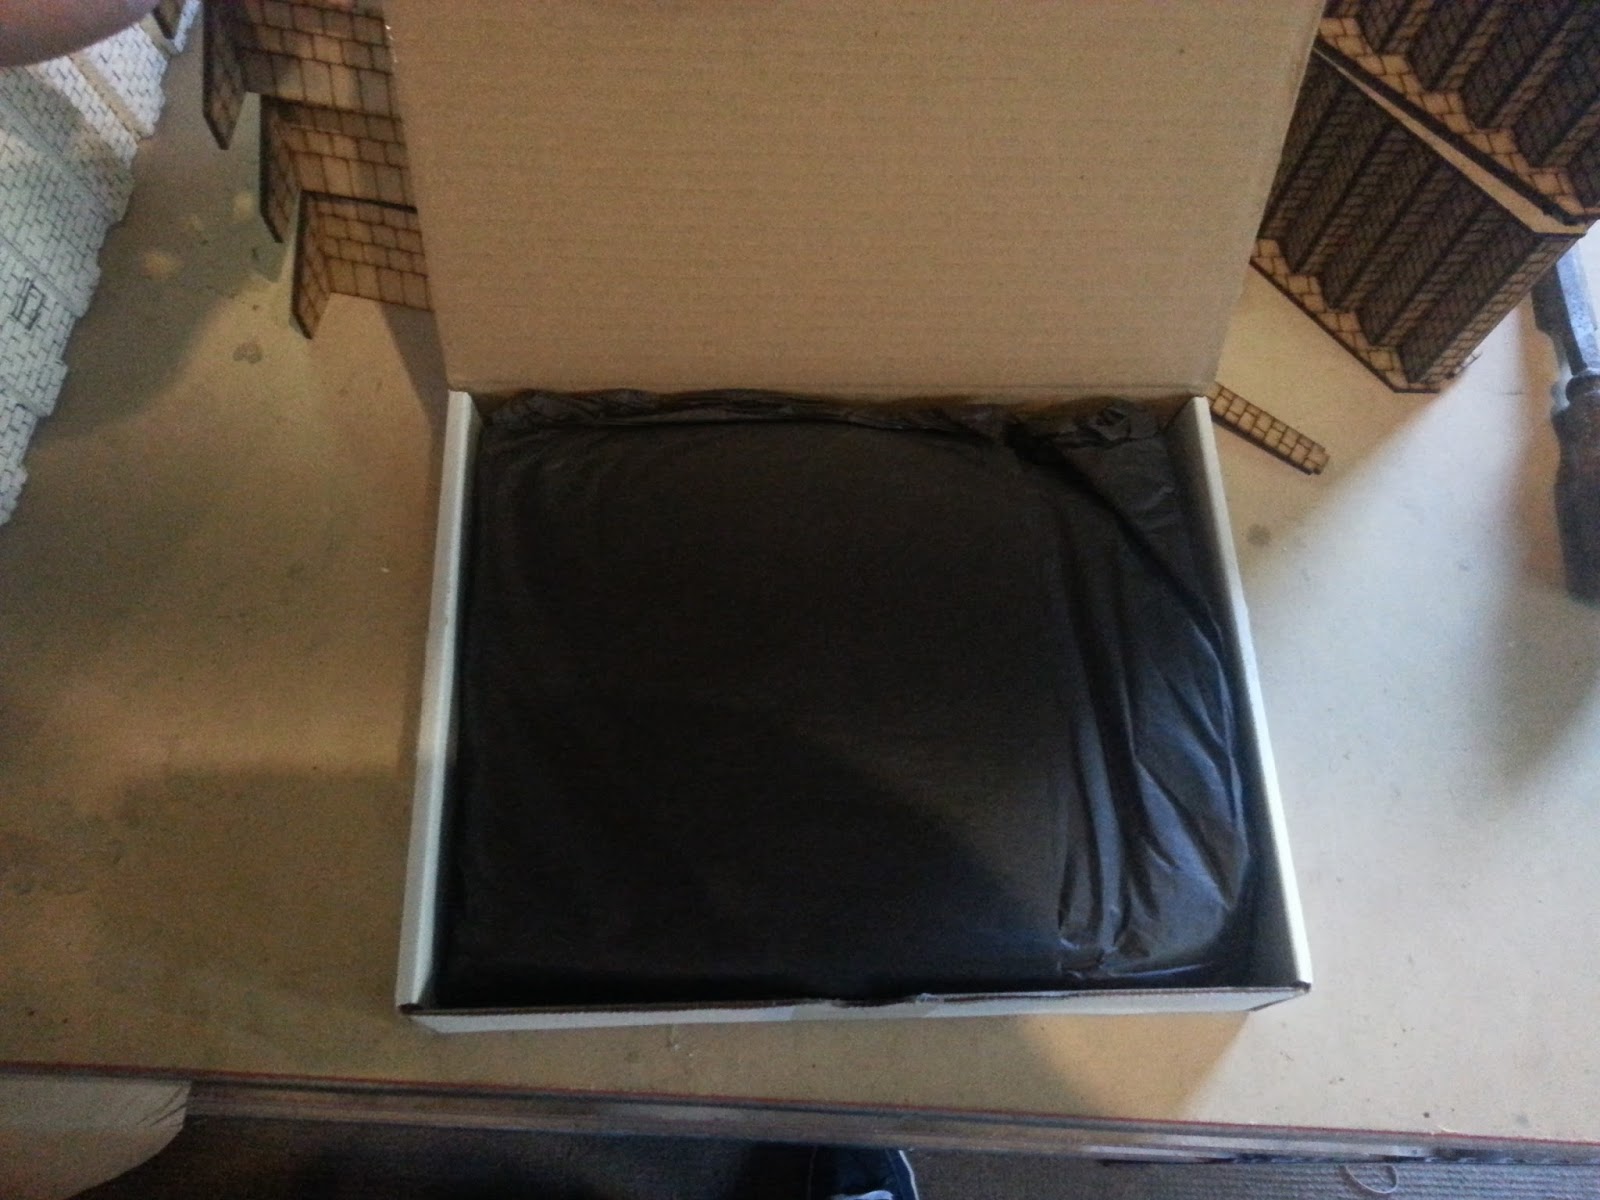
My core box arrived the following afternoon, just before the
weekend! The pictures don’t convey how big and heavy the box was.


Just for reference, that table is 3.5 foot wide – the board is
big!


The hunt board.

The core miniatures

The core and unlocked (free) miniatures


As soon as I could I busted out the four starting survivors and
the Lion, and gave the intro game a bash.


I absolutely loved it but let’s check
out how this magnetising went next.

I used three magnet
sizes; 1x1mm, 2x1mm and 2x2mm. I also have 1mm and 2mm drill bits. I went out a
got a new pair of drill bits just for this and I was grateful once I started. Sharp drills make it easier to get clean crisp holes so the magnets go in snug and are easy to glue in place.
I started by removing all of the parts from the sprue and
cleaning them up. I glued the legs together, the front and back torsos together
and the two parts of the arms but left the heads, torsos, legs, arms and hands all separate from each other.
I drilled into the leg piece with my 2mm drill, then interested a 2x2mm magnet.


It is really really really important to get the polarities
of the magnets the same. After the first magnet went in I made sure the other
legs matched this polarity and that the adjoining torsos were the opposite. I
also kept the same alignment for the join at the neck and head so the magnets
all kept eachother together.


The hands looked a little difficult because the wrists are
about 1mm wide. In reality it wasn't too bad because you only need enough space
to glue the 1x1mm magnet on and then you can drill a recess up into the arm for
the adjoining magnet. Here is a bunch of photo of one of the hands.


Here is one of my magnetised survivors.

There is a 1x1mm magnet in the neck and a 2x2mm magnet in the torso under the neck. If this one was the reverse polarity to the leg-waist one it tended to flip over, so I kept them all the same.

There are 1x1mm magnets in the arms and 2x1mm magnets in torso. These torso ones were hard to keep in place because the neck and waist magnets wanted to pull these ones horizontal. I had to hold them in with a tooth pick until the super glue dried. In future I will do these ones first.

There are 1x1mm magnets in both sides of the wrist. The only thing that was tricky here was getting the depth of the arm magnet right. I only drilled a little bit at a time and kept dry fitting it until I had the right depth. A little fiddly but not too difficult.

Here is one of the survivors (unarmoured with only a shard of stone). Because there are so many arms you can experiment placing the shoulder-arm magnet at different angles. This guy has his arm out to hold the lantern but I have lots of other arm positions too. Below you can see that I should have made the shoulder join deeper into the torso as the joint sticks out a bit. My later ones were much better.

Here is another survivor. I have fully magnetised this armour kit which has loads of extra heads and hands. It will be great mixing and matching them with the other armour sets.
I can't do much to smooth out the neck and shoulder joins unfortunately. For the other kits the survivors are wearing clothes so these parts will not be so notable.

Here is a comparison to the single post starting survivors.


While I'm at it here is the Lion

His joins will need a little bit of green stuff.


I’ll run though a full hunt some other time but here is a quick
rundown of my into hunt.
In the opening moves the White Lion went straight for my centre survivor (Abraham)
and mauled him badly.


A further three times the lion went back to him, dragging him
away from the other survivors to continue mauling him.


During the fighting my other male survivor
(Cain) died of mortal terror and one of the women (Jezebel) went quite insane. Any
insanity rating over 3 is ‘insane’ and her insanity rating was 8.

Towards the end of the game
the other women (Maria) became so frightened that she gained
a phobia of the dark and would never hunt again. Seeing that was the case I decided that she could recklessly
throw her stone at the lion.

In a crazy stroke of luck the stone hit the lion in the
throat and paralysed him!


This gave Abraham a chance to crawl over to him (with
his torn Achilles tendon and other injuries) and strike at the lion. He must have been angry about
all of the mauling because he ripped the lions jaw off its face which was enough it kill
it.


Essentially, I rolled 10 on a D10 three times in a row for all of this to happen, it was pretty epic.
I am really loving this game. It was definitely worth the wait! More to follow next time.

I severely regret not backing this game. I'd trade my robotech mini's for this in a second. The models are just gorgeous.
ReplyDeleteAre you magnetizing because of all the different weapons and armor options?
Funny, I regret not buying more when this launched! It is a stunning game.
DeleteI'm not sure how much you know about this game but there is an armour kit and weapon load-out 'unlocked' for each monster. I want to be able to interchange armour and gear in any game as much as I play. That was my motivation to magnetise all parts of the miniatures.
I figured as much. I didn't know if they had different weapons as well. Being able to upgrade the characters and such is a great mechanic, so magnetizing is definitely smart, if not annoyingly time consuming!
DeleteThanks for sharing this. It's really interesting to see it in actual practice and not just on the Kickstarter page.
ReplyDeleteIt took me a long time to make a decision, but in the end I decided not to back this. The Hunt you showed here looks cool, and the minis are really nicely done (I love that scale!), but I didn't think it had enough actual game for me to enjoy. Although the action in the Hunt looked pleasingly brutal and and almost RPG-like, I wish there was an actual dungeon crawling element to it, and not making all of the actual action revolve around a boss fight over and over. I'm glad you're enjoying it though.
That's a crazy amount of work you're doing with the minis. It looks great. I was thinking of doing the same when I was considering buying the game, but all of that work is part of the reason I ended up not backing it.
I can totally understand the thought of wanting to do the extra work on this stuff and then deciding it is all too much to bother with. I had a proper big play through with a group of 5 other mates today. We played through 3 settlement phases, hunts phases and showdown phases. Scattered all through the play were story events that triggered by all sorts of things. There is actually a lot more game in this than was ever pitched and looking back the KS pitch didn’t do a very good job at selling how awesome the game play is. These KS can be a real gamble though and a massive investment. It is a hard call to go all in or pull out.
DeleteMagnetising all that..... No. I got to help my mate unbox his KD:M and there are just too many pieces!
ReplyDeleteStill though, I can't wait to play. Looks so fun.
It is. As long as you find brutal gruesome death fun.
Delete1) You're mad (but we knew that)
ReplyDelete2) They're pretty (which is nice, as you backed a KS)
3) Good to hear from you again !
4) What else are you doin' ?
I have been a real shocker at jumping between all of my projects. Not blogging tends to be the result of project hopping for me. I project hop when I don’t put in regular hobby time and am stressed. So I guess the answer is that I have been too busy at work and have taken a haphazard approach to my hobby time.
DeleteHere are a few project that I have been working on: continuing my Necron city, built an open track Leman Russ, modelled myself and the misses, started building a palm tree forests, converted a medusa, modelled up some battle cannon emplacements, painted some more red lions, and started a new command squad.
What would you like to see pictures of first Zzzzzz?
LOL yeah, Just a bit.
ReplyDeleteHey, your post is such an amazing resource for people who want to take on this endeavor for themselves, thank you!
ReplyDeleteI'm just wondering, how do you handle alternating weapons? Did you magnetize the weapons too, so you could swap them as needed, or just glued them straight to the hands that you switch in and out? If the latter, arent there not enough hands?
Cheers for the comment.
DeleteThe standard for each weapon seems to be one in the left hand, one in the right hand and then one or more not held. Then there are several hands that can be glued onto the weapons. I started by magnetising the weapons that were being held and as I have played more I have stated gluing additional weapons to hands. I have only been magnetising the hands, I don’t think it is possible to magnetises weapons ‘to’ the hands. One other thing that I have done though is insert a magnet onto the waist or back of some models and insert a small magnet onto a few weapons. That way I can have models with a weapon on their hip (on a belt) or on their back. I’ll have to post up a photo of how that looks.
Really interested in Unknown 7 questions, also I might sound quite lame but I am also curious about where to buy the magnets and how many you would recommend (and the drills I guess can be found in any hobby shop?).
ReplyDeleteThanks a LOT for this guide it's so terribly useful I am so glad I stumbled upon it before I started painting and assembling my stuff.
You are totally welcome Sadevile.
DeleteI got my magnets from EBay. They were sent out from China. It looks like there are quite a few sellers. If you want to magnetise everything you will want a lot of them! I have got drills from lots of places – hobby shops hardware stores. If you can get them separately buy yourself 2 or 3 of the 1mm ones in case you break them. Good Luck!
yurtdışı kargo
ReplyDeleteresimli magnet
instagram takipçi satın al
yurtdışı kargo
sms onay
dijital kartvizit
dijital kartvizit
https://nobetci-eczane.org/
YWXX
Yalova
ReplyDeleteHatay
Muş
Bursa
Mersin
XCG01R
van
ReplyDeleteerzincan
sivas
ağrı
manisa
H7HDY
ankara parça eşya taşıma
ReplyDeletetakipçi satın al
antalya rent a car
antalya rent a car
ankara parça eşya taşıma
FYBY
van evden eve nakliyat
ReplyDeletesivas evden eve nakliyat
çankırı evden eve nakliyat
bartın evden eve nakliyat
erzincan evden eve nakliyat
3U2
8D74E
ReplyDeleteGiresun Evden Eve Nakliyat
Nevşehir Evden Eve Nakliyat
Ankara Evden Eve Nakliyat
Burdur Evden Eve Nakliyat
Çerkezköy Boya Ustası
5FFC4
ReplyDeleteHakkari Lojistik
Batıkent Boya Ustası
Ünye Marangoz
Düzce Şehir İçi Nakliyat
Bartın Lojistik
Kucoin Güvenilir mi
Manisa Lojistik
İzmir Şehirler Arası Nakliyat
Kırıkkale Şehir İçi Nakliyat
41F2F
ReplyDeleteAdana Şehirler Arası Nakliyat
Şırnak Şehir İçi Nakliyat
Bingöl Şehir İçi Nakliyat
Kırklareli Parça Eşya Taşıma
Kırıkkale Lojistik
Tekirdağ Boya Ustası
Iğdır Lojistik
Elazığ Evden Eve Nakliyat
Çorum Şehirler Arası Nakliyat
D3734
ReplyDelete%20 indirim kodu
5D6C4
ReplyDeleteelazığ sohbet
bolu ucretsiz sohbet
trabzon canlı sohbet ücretsiz
artvin random görüntülü sohbet
Kilis Görüntülü Sohbet Canlı
Sivas Telefonda Kadınlarla Sohbet
denizli görüntülü sohbet odaları
artvin parasız sohbet
Hatay Sohbet Sitesi
CE3FF
ReplyDeletebayburt parasız görüntülü sohbet
Adıyaman Sohbet Muhabbet
kars mobil sohbet
Tekirdağ Canli Goruntulu Sohbet Siteleri
adana sesli sohbet odası
Sakarya Sohbet Muhabbet
tekirdağ telefonda kadınlarla sohbet
erzincan sesli sohbet
Gümüşhane Telefonda Rastgele Sohbet
AE4ED
ReplyDeleteKripto Para Çıkarma Siteleri
Soundcloud Dinlenme Satın Al
Btcturk Borsası Güvenilir mi
Flare Coin Hangi Borsada
Coin Kazma Siteleri
Sohbet
Loop Network Coin Hangi Borsada
Twitter Takipçi Hilesi
Onlyfans Beğeni Satın Al
شركة تسليك مجاري في أبوظبي CwQQ1ODyrg
ReplyDelete330A4185A9
ReplyDeletetakipçi
5A38553A32
ReplyDeleteig takipçi
B06BBA39E2
ReplyDeletedüşmeyen takipçi satın al
Para Kazandıran Oyunlar
Titan War Hediye Kodu
Total Football Hediye Kodu
Yalla Hediye Kodu
MFF Kupon Kodu
Call of Dragons Hediye Kodu
War Robots Hediye Kodu
Lords Mobile Promosyon Kodu
B3992F7EB9
ReplyDeleteTelegram Airdrop Botları
Telegram Para Kazanma Botları
Telegram Para Kazanma Botları
Telegram Para Kazanma Grupları
Binance Hesap Acma
A0ED0FD183
ReplyDeletetürk takipçi
youtube beğeni satın al
instagram takipçi
gerçek takipçi
takipçi