

After handing up my PhD thesis (which I talked about in my last post) I gave writing a solid brake for a bit. This unintentionally spilled over to my blog too so I have gone a full month without a post. Now that I am back to writing at work I found the urge to write a post again. So what have I been up to? I finished a tank! I am splitting this one over two posts so if you would prefer to jump to the finished tank hop over to Part 2.
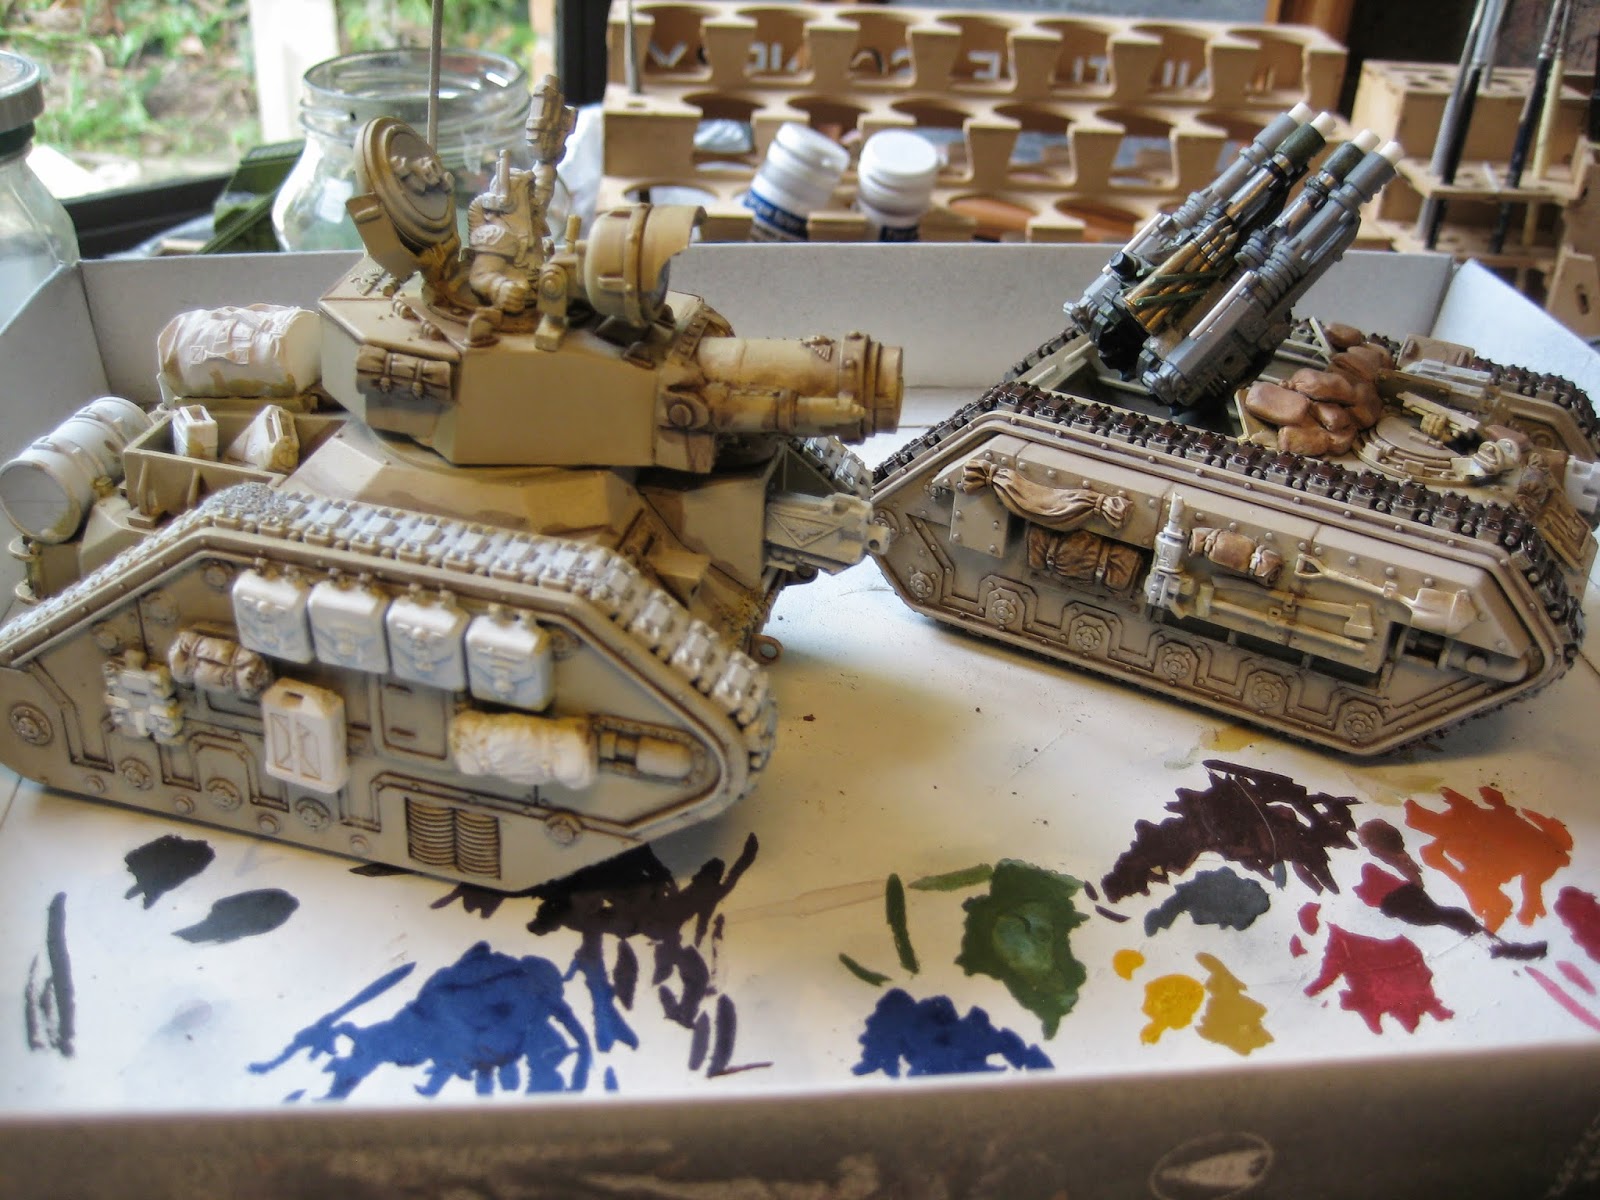
The Demolisher and converted Hydra below are some of my oldest tanks from back in the mid 90's. I pulled them out around two years back and gave them a new base colour but that was as far as I got with them. Some of the regular followers might remember them from this post.


With my new Praetorian iconography the Demolisher really needed a nice red lion on it somewhere as well as a whole load of tank markings. For these I leant heavily on World War One and Two references but I did not want to simply replicate those tanks. I finished up with something that fit into 40k but felt 20th century.
.jpg)

I decided that my armoured icon would be a red lion on a white circle in red square. Here are its rough beginnings.


For the tank number I used the standard Guard 'company/squadron/tank' numbering pattern.


White-red-white vertical markings.


I could have taped these stripes but in the moment I simply free handed them.
Then I cleaned up the lion and numbering on the right of the turret and painted a matching '10' on the left of the turret.


The other marking that I have been giving my units is a campaign badge (which you can check out here). For this I have been using variations of the Orpheus Campaign icon shown below. These were painted these on the side crew hatches. I wanted it to look like the crew had painted them on so I did not paint them exactly the same on both sides.


.jpg)
Now for some cool Guard markings. This is the 'Morua Ferrox', the approved insignia of Imperial Guard Assault Brigade Formations.


5th Brigade, 10th Regiment (also denoted by the white 10 in the red square).
Next up was the rest of the body - track links, stowed equipment, edge highlighting and some mud.


Edge highlighting (it appears pretty subtle in these shots due to the bright light).


I went a little overboard flicking on oil and soot.

Tackling the mud on the front.


The tank was nicknamed 'bumblebee'.

With the painting all done I pulled out some transfers to add the last details.
I added a small Imperial Guard badge above the tank name.

An Aquila on either side of the gun barrel.


A skull next to the campaign badge because it looked a little off centre.

Skulls to make the vertical stripes a bit more 40k.


Getting closer...


And a few more Aquilas. You can never have enough Aquilas in 40k!


Small patches of rust applied with a mixture of scorched brown and tin bits.

Final weathering and washes then a coat of matt varnish...

To check out the finished tank go to Part 2.
Cheers for chinking it out lads, comments always welcome.
Super cool to follow the paint progress on this lovely beast!
ReplyDeleteThanks Dai. The progress shots are mostly for my own benefit so I can map my progress and refer back to for the next vehicles. I’m glad you enjoyed it too.
DeleteI love your freehand work sir! It's something I struggle to even try to do.
ReplyDeleteI’ll have to make you some sort of deal where you do my objective source lighting and I’ll do you some free hand painting!
DeleteOf all the painting the free hand was the most enjoyable. It was all right at a time where I needed to escape from the thesis writing and clear the head.
ReplyDeleteOh and as for the Orks, long as they don’t mind getting blown up in the attempt!
Really cool and love those freehands :) a question: where can i find all those bags and stuff u put on the sides (or above) of this tank?
ReplyDeleteThat are just 1/32 scale military kit stuff. You should be able to find boxes of them at a typical hobby shop. ;)
Deletein my city no hobby shops :(
DeleteOh mate that's rough! Try on-line stores. Search for tank stowage.
Delete