


To put it simply, it is a colour shift from green...


... to brown


My Vision
I think that a big part of making wargaming tables look good is tress. I have wanted to improve my tress for a while and so over the last few months I have been dabbling with a few tree projects. This post is going to be all about those endeavours and while nothing is completely finished I now have a lot of stuff that is almost there.
Before I start with my hobby work lets all get on the same page. I wanted gum tress, rocks (rock pilers/cliffs) and palm tress. "Wait, palm trees? but they don't fit with that arid Australian environment?" Yeah, nar they do. Here is what I had in my head...


Small Beginnings
To kick things off, one night I sat down with some DAS clay and tried to make something that was a bit of a cross between a 'yakka bush' and a fern tree. I guess I had something like this in my head.


Here is how that went:


Aquarium leaves sliced up with my knife


I should add that I wasn't too worried if they didn't look very realistic, They were going to be used on a alien world in the future after all.


(All of this happened back when my desk was a complete mess)


 |
| Preparing the base |


When this first test piece was done I threw it onto my battle mat to see how well it matched.


Not bad. It seems to give good cover too without blocking line of sight.

Slight Tangent
I worked on a FW gun emplacement too


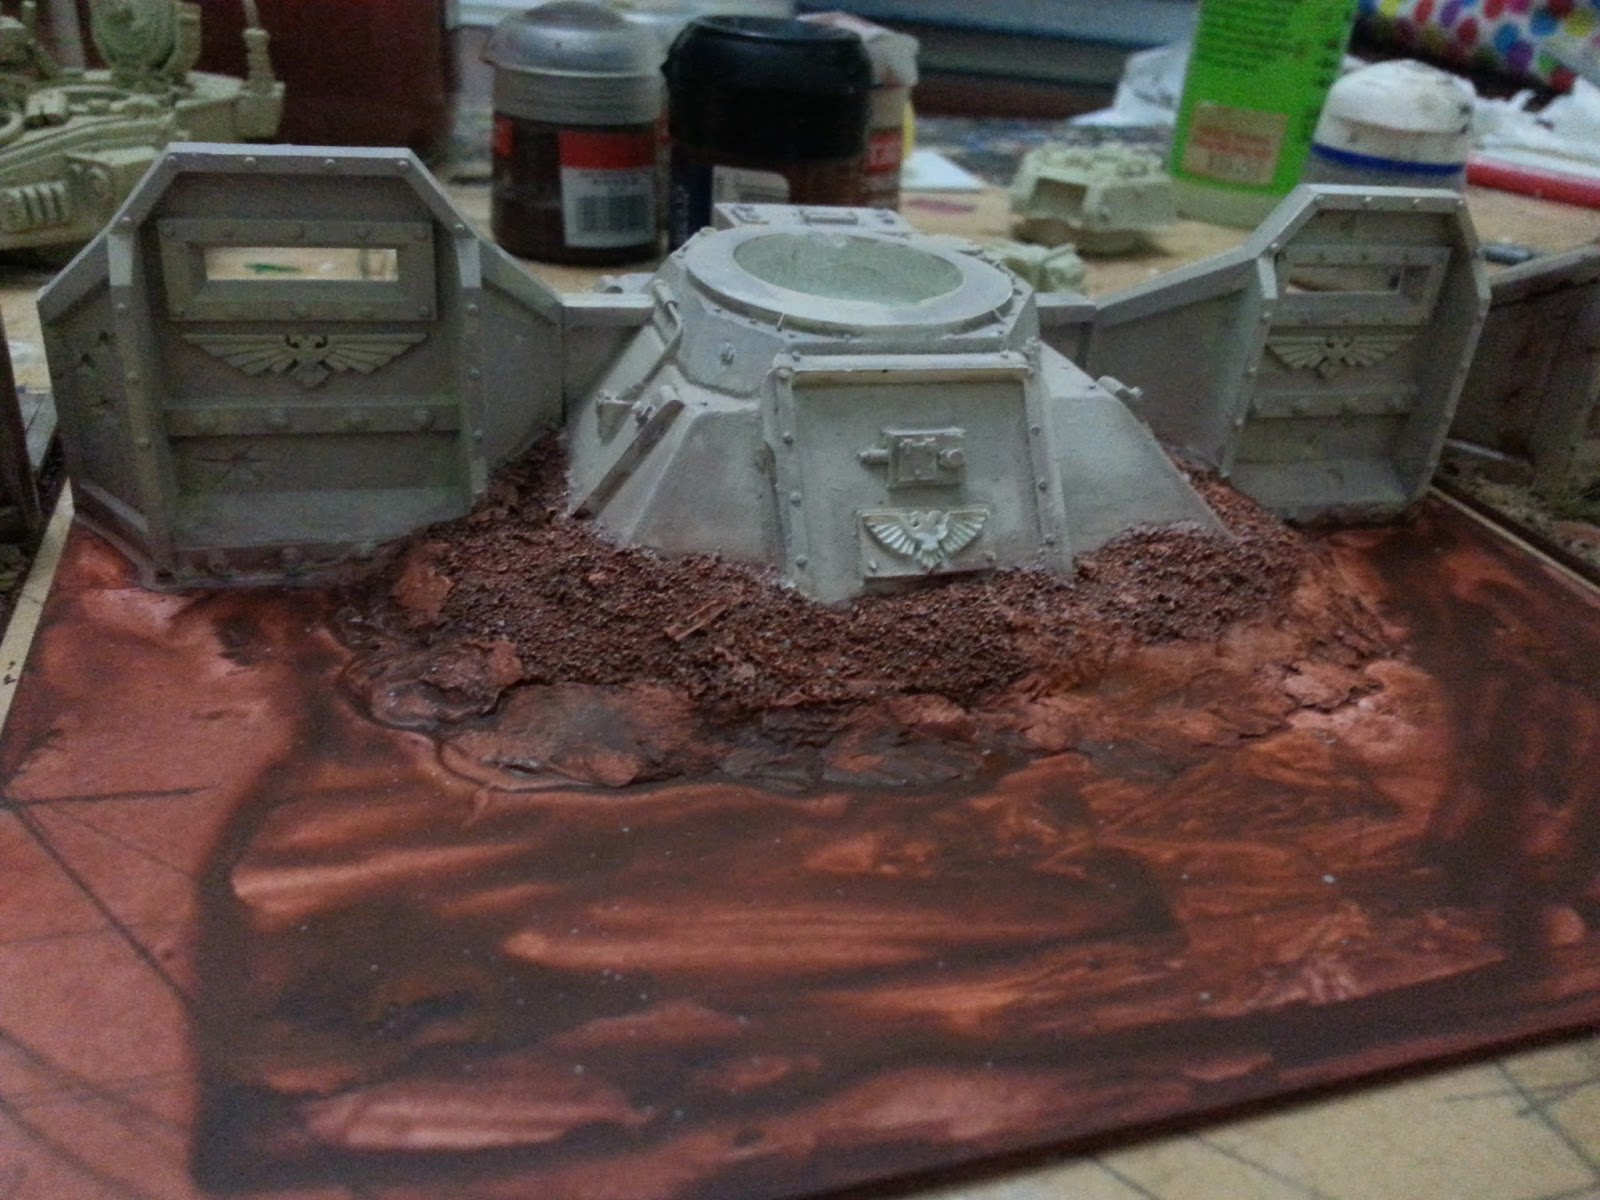

In my head I could see a cleared, well defended area surrounded by rough jungle/bushland.


Necron stuck in the wire.


Why would I cut up an rare OOP Necron from the glory days of GW?
Well I have a few that I left in a paint stripping agent for too long and they... rusted (or maybe corroded is a better term). Rusty Necron - fine I can work with that!


And before I get back to trees... I got myself some logging and earthmoving equipment to construct a clearing for my Guardsmen. My local hobby story had them going cheep so I had to get them.


 |
| The Necron has taken control of the mechanical arm! Look out! |

Palm Trees
Finally, I had my palm trees rock up in the post!

I ordered a heap of stuff from china via ebay.


Lots of stuff!

Maybe too much?
I pulled a few out, gave them a light undercoat spray (so the paint would hold), then started glueing them to bases and painting them up.


My construction team was eager to get to work.


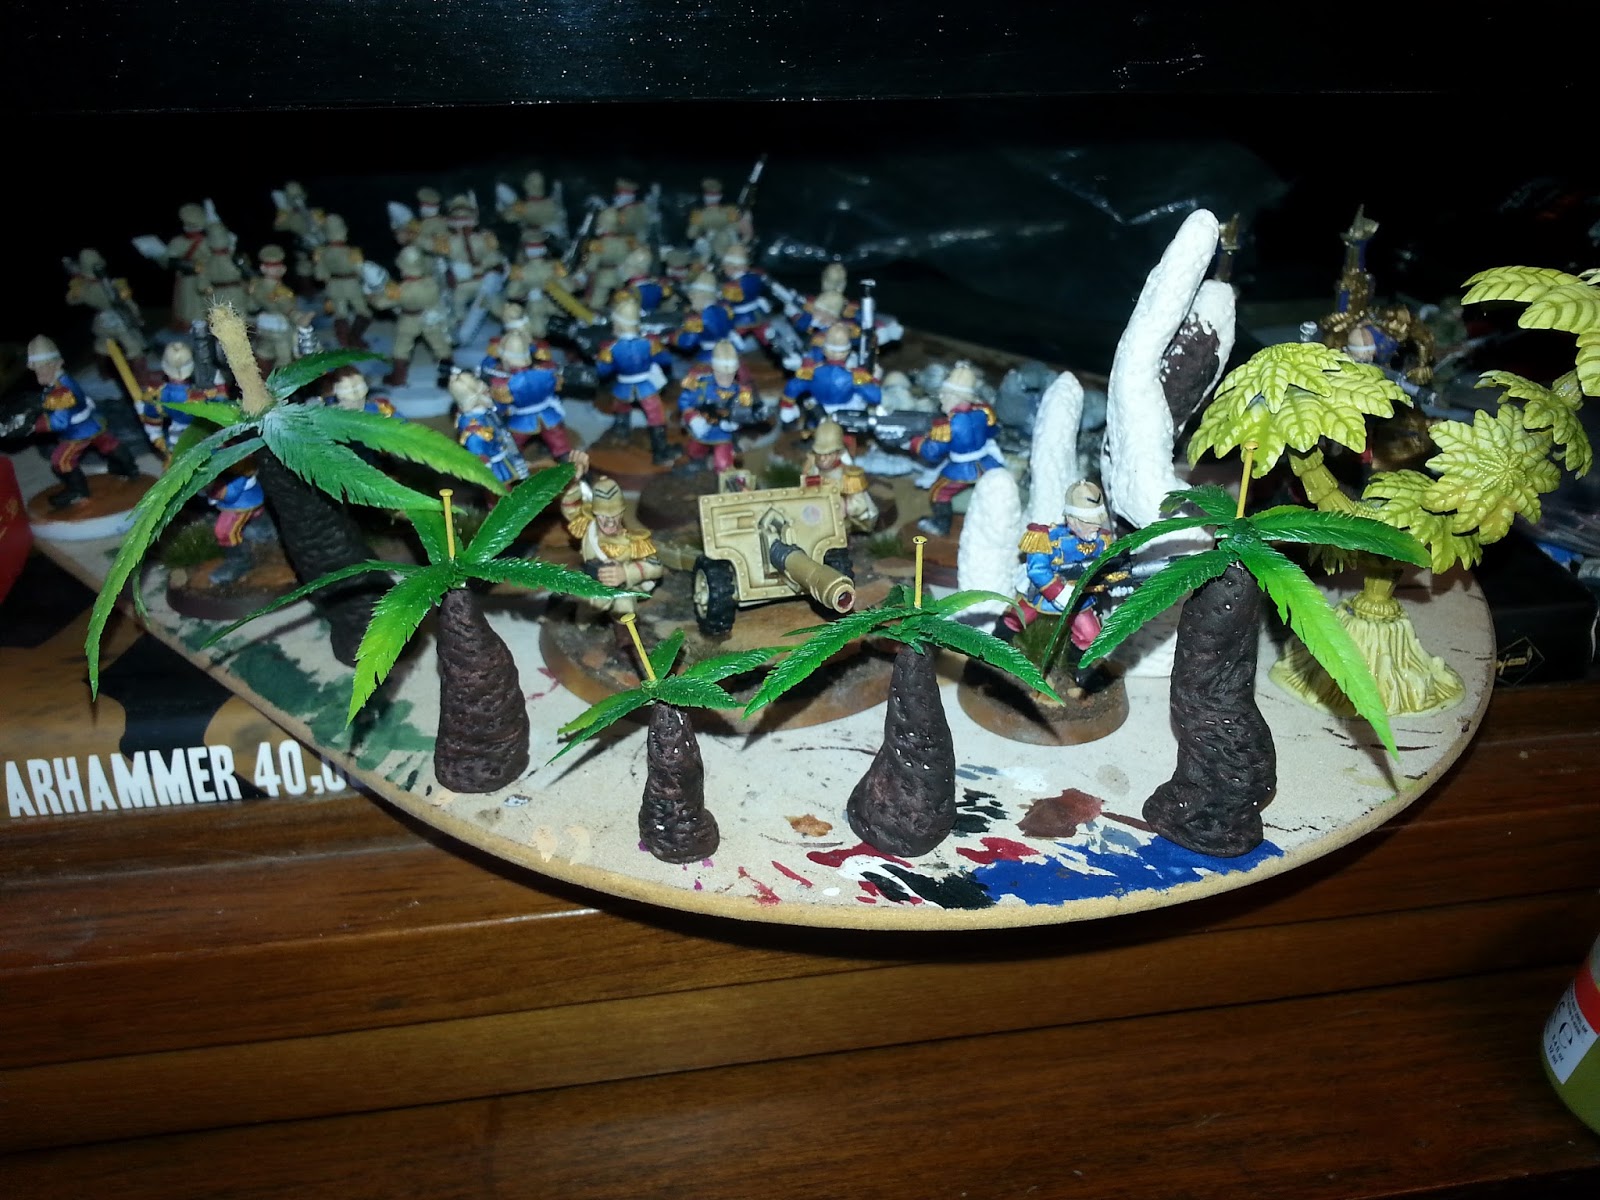
At this point they were glued to bases but not really painted. Still, I was dying to see how they looked on a gaming table with my men.


Yep, that is an improvement. At this point with only palms it looked very Arab. And I am fine with that. I have so many palm that I can use only them and create a distinctive board if I want.
I wanted to see if these would gel with other trees that I had. The answer was 'not really'.


So I got back to palm painting and decided that I would have to put my thinking cap on if I wanted gum tress and an Australian bush look. Maybe it would be too hard and palms would do?


Getting there.


Finally Succeeding with Gum Trees
Ok, time for a story. My palms were starting to get there but this idea of gum trees were still nagging me. In the end after lots of internet research I grabbed some wire, plaster and flock and had a go at gum trees. It took the whole weekend to made two and a half gum trees. So less than a forest but they looked good. Scratch that. - they looked really good. I am devastated that this all went down right when my old phone died, so I don't have any photos. Probably best though as it was a really slow process that was very painful. After I had finally finished four trees I got talking to an other Aussie on the net who seemed to be far more experienced at this than me. I was pretty much following his instructions exactly but somehow he seemed to be churning out tress 10 or 20 times quicker than me. My interest moved from how he was doing it to why he was making so many trees. Why...Because he was selling them! For about $30AU I could get what was taking me two full days to do. I made a few more and brought a bunch of his until I ended up with about two dozen gum trees. Here is how they look.

The lighter green ones are mine (although they all pretty much look the same).

Those trunks are painted by the way.

Moment of truth. What happens if I stick them with my palms?


That is starting to feel like the look I was after.
And they look good by themselves too.


In these pictures I still hadn't based them. I used the same red-brown slate that I had been using for my Guard.


Then one evening I pull a few things out to see how it looked together.


The bases were matching my models well.


And that is the lot of them. My trees are coming along nicely and they 'work' with my big wind generator. I still hadn't captured big rock formations like in my original photos though. It was at this point that I brought a hot foam cutting kit for that purpose... I'll tell you about those adventures next week.
Thanks for checking out where I am up to with my wargming trees.
Tally ho.
Fantastic! Really digging all the variant foliage - having the various types really sells the table as being more 'real'. Awesome work, man!
ReplyDeleteOh thanks mate! Now to just get it all finished up so I can play with it.
DeleteExcellent Ozie table there digger ! Now just have some fresh 'roo poo in a bucket under the table during games for that finishing touch.
ReplyDeleteBahaha!! Nice one Zzzzzz. Maybe I'll go with fresh eucalyptus leaves instead.
DeleteI like the tallest of your trees- a really nice blog post on your progression of making these.
ReplyDeleteCheers Mark. It's been slow progress but I have stayed at it.
DeleteSuch a cool post! All of them, the palms, eucalyptus, yukkas, all of them look so good and mesh really nicely, especially with your red-brown slate basing.
ReplyDeleteReally like what you're doing here and am excited to see how it all ends up. Thus far, tis bloody good mate!
Thanks for the words of encouragement Dai. I'm working on some rock pillars to add to it all. I'll post some shots on the weekend. :)
Delete